PC Booking System
Contents
Installing PCBook
Overview
The booking system is composed of two parts. The server runs on a central machine and stores the policies that control who can log on where and when. Administrators connect to the server from a web browser to set these policies.
The client is a small service that runs on each workstation. It connects to the server to discover which users should be permitted access.
Server Installation
The PCBook server will run on Windows, Linux or any platform that can run the Apache Tomcat server. The simplest way on Windows is to use the provided installer which includes both Tomcat and the PCBook server.
Installing on Windows
First you must have the Java runtime environment installed. You can download Java from:
http://java.com/en/download/index.jsp
or use whichever other version of Java that you prefer.
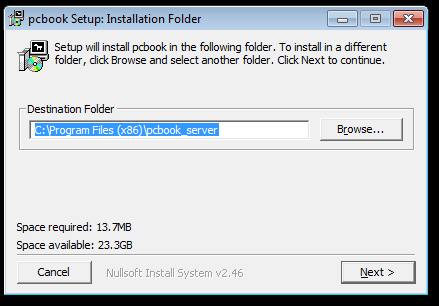
Next download and run the pcbook_server_installer.exe file. Confirm the installation location - all the server's files will be placed under this folder.
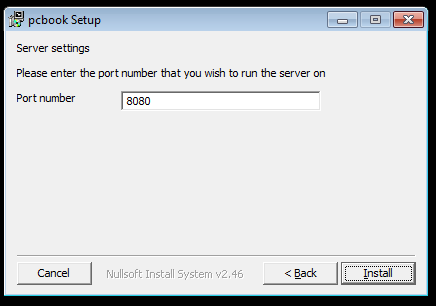
You can choose which port the server should run on. The default is 8080.
The server will install and start automatically. Under the Windows service list it will appear as 'Apache tomcat_pcbook'.
Now connect a web browser to http://server.example.com:8080/pcbook but with your server address and the port you chose during installation.
The default username is 'admin', with password 'admin'.
Installing on Linux or other Tomcat environment
Install Tomcat through your distro's package management system or get it from tomcat.apache.org.
Download the pcbook.war file and place it in Tomcat's webapps directory.
Copy the JAR files in the lib directory into your Tomcat lib directory.
The booking system will need to create a directory called pcbook_db under Tomcat's CATALINA_HOME path. Make sure either that the user that Tomcat is running as has the rights to do this or create the directory manually and give the user rights to this. All the booking system data is kept in here.
Go to http://yourserver/pcbook/ and login with username 'admin', password 'admin'.
Client Installation
Run pcbook_client_installer.exe.
You will be prompted for the address and port number of your server.
The service will appear in the Windows service list as 'pcbook'. Once it is running it will contact your server and automatically appear in your list of workstations.
Unattended installation
To help automate setup on multiple computers the client installer can run in unattended mode from a single command line invocation. Simply run:
pcbook_client_installer.exe /server=server.example.com /port=8080 /S
Note the capital /S.
Uninstalling PCBook
Server
On Windows go to pcbook_server under your program files folder and run uninstall.exe.
On any other Tomcat environment remove the pcbook.war and pcbook from your webapps directory.
Client
Run uninstall.exe from the program files\pcbook folder.
You may want to check the the local 'Users' group has reverted to the correct state. Under the Windows computer management console, select 'users and groups', groups, and open the 'Users' group. This group should normally have entries for:
NT AUTHORITY\Authenticated Users
NT AUTHORITY\INTERACTIVE
as well as any local user accounts, and in domain environments the group 'Domain Users'.
Using PCBook
The booking schedule
Under the management menu select 'Schedule'. For each workstation on your system there is one column showing today's bookings.
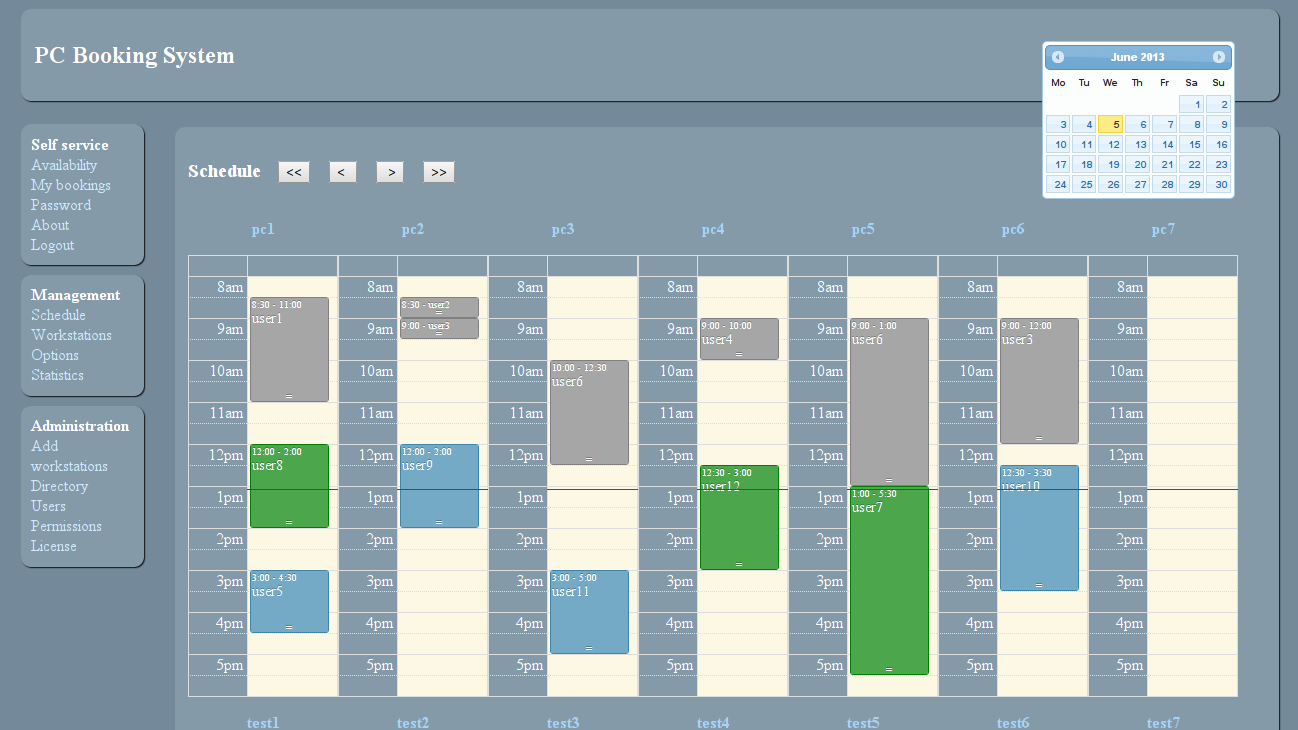
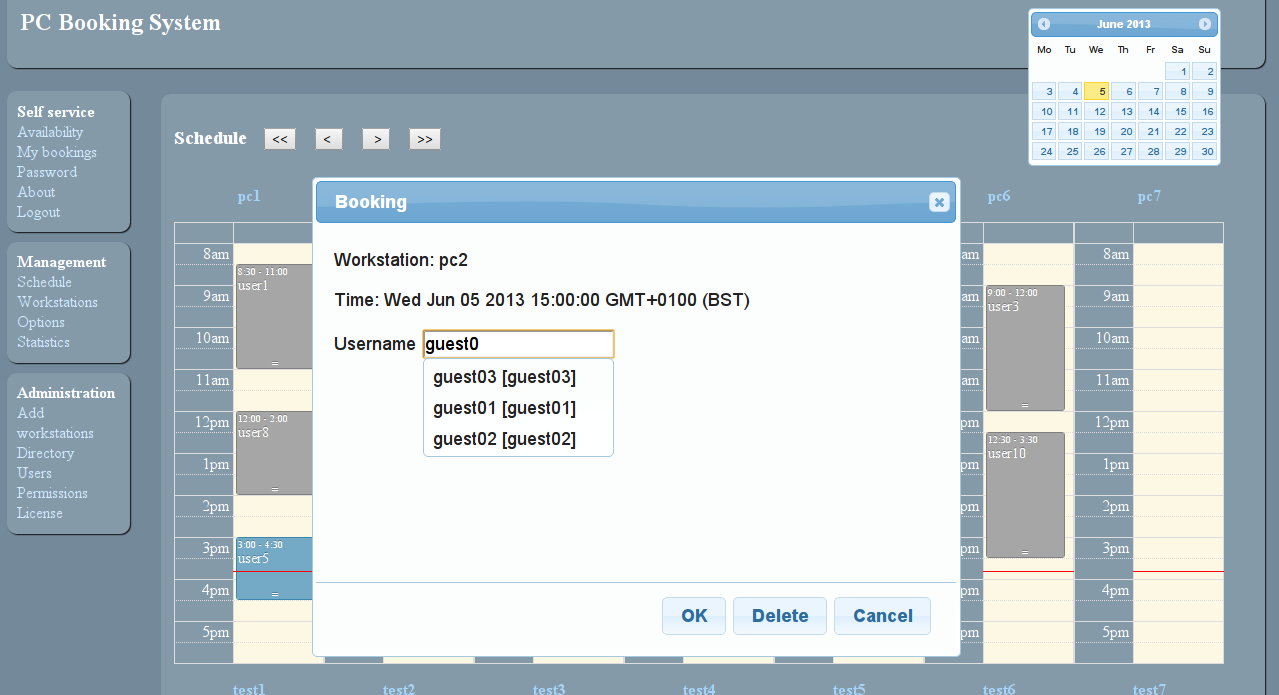
To add a booking click on the schedule at the appropriate time. You will be given a dialog box into which you must enter the user name of the user who is allowed to use the computer at this time. Click OK and the booking will be entered.
Instead of entering a user name, you may enter the name of a group. Any members of that group will be allowed to use the machine.
To change the time or length of a booking simply drag or resize it.
To change the user, click on the booking and enter a new username.
To delete a booking, click on the booking and click the 'delete' button.
Options
The way your system functions is determined by the policies you set under the management menu, in the 'Options' screen.
Booking policy
The booking policy may be either 'open' or 'closed'.
When open, anybody may use a machine unless it is booked for a specific user.
When closed, nobody may use a machine unless there is a booking made for them.
Warnings
When warnings are enabled, the user will receive warning messages at the times you specify prior to their time running out.
The second warning repeats every 15 seconds until the end of the booking period.
When the system is closed the user's time runs out at the end of their booking period.
When the system is open a user may carry on using a workstation so long as no other user is booked. Their time runs out at the beginning of the next user's booking.
Forced logoffs
If forced logoffs are enabled, a user will be forcibly logged off when their time expires. If forced logoffs are disabled, they will only receive a persistent, annoying message telling them to log off.
Logon screen notifications
When logon screen notifications are enabled, the logon screen will display a message saying who a machine is reserved for, or notifying that a booking is required if the machine is currently free.
Unrestricted users
A comma separated list of users here allows these users to log on at any time. Group names may also be used.
Workstation administrators can log on regardless of bookings but should also be entered here to suppress messages or automatic logoffs.
Shutdown policy
If shutdown is selected on the web interface but a user is logged on at the time, the machine will not shut down, unless forced shutdown is enabled here.
Schedule start and end times
Here you can restrict the schedule overview screen to just your business hours to save space on the screen.
Workstation groups
The Groups screen lets you organise workstations. To create a group click on 'new group...' and give the group a name. Then select 'edit' for the newly created group to assign workstations to it.
Now when you go back to the options screen the group will be available in the workstation group list.
The default options apply to all groups that don't have any of their own settings. If you edit individual group settings, these will then override the defaults.
Statistics
The booking system records workstation usage data and the statistics screen lets you run reports on this.
Select the query that you want to run from the drop-down list, specify start and end dates and which workstations to include. If relevant you may filter by the time of day that you are interested in. Click 'query' and a chart will be generated.
Server maintenance
If you need to shut down the server for any reason, the client workstations will switch to an open policy automatically. This applies to any event in which the clients can't contact the server such as if you are doing some network maintenance. As soon as the clients can see the server again the appropriate policies will take effect.
User management
Permissions
By default a user can only see the self service menu which shows them their own bookings and workstation availability.
A user with management rights can access the management menu, which allows them to make bookings, set the booking policies, and view usage statistics.
A user with admin rights can additionally configure directory settings, create users and assign permissions.
Local users
Use the local users screen to create any additional users to whom you want to give access to the web interface.
LDAP directory usage
The LDAP settings under 'Directory' in the administration menu allow you to link PCBook to your Active Directory or other LDAP database. The two purposes for linking to your directory are:
1. The bookings dialog screen will search your directory for user accounts to help when entering users into it. This is enabled with the 'enable LDAP searches' option.
2. Your users will be able to log into the PCBook web interface. This is enabled with the 'enable LDAP logins' option.
LDAP server
Specify the host name or IP address of your directory server. The port is usually 389.
LDAP bind user
The details of a user with access rights to do directory searches may be required. For Active directory this may be of the form user@example.com or example\user. Otherwise the standard LDAP syntax of cn=user,dc=example,dc=com is also permitted.
Search base
Specify the container under which your users reside. This is often of the form ou=students,dc=example,dc=com. Multiple search bases may be specified, separated by a ; character.
Attributes
Specify the username attribute. On Active Directory this is usually 'samaccountname'. Specifying a search attribute such as 'displayName' allows searches to be by name as well as user ID.
Assigning access rights to LDAP users
LDAP users will appear on the permissions page after they have logged in - you can create a local user account with the same name if you want to assign access rights to an LDAP user who hasn't yet logged in.
Recovering from a lost admin password
Go to the pcbook_db folder - in Windows this is under program files, pcbook_server. In other Tomcat installations it is under the CATALINA_HOME path. Create or edit the admin_default.cfg file and insert a line like this:
adminpass=banana
You can now login as the admin user with the given password.
Self-Service
If an ordinary user without admin or manager rights logs into PCBook, they may only see a list of their bookings. By enabling the self-service options they may also create and cancel bookings for themselves, according to the policies you set in the options screen.
Cancelling bookings
Enabling this allows a user to cancel their own bookings, even if they are not allowed to make them.
Making bookings
Enabling this allows users to make bookings for themselves. They can't make booking for other users.
Booking policies
To keep self-service bookings under control you may specify a maximum number of outstanding bookings that a user may make, the maximum length of each booking, and a maximum number of unused bookings.
If a user makes bookings but does not use them, and this number exceeds the maximum, they will no longer be allowed to use the self-service system to make bookings.
API
Data about the system may be accessed in JSON format for use by other software at http://example.com/pcbook/api
Workstation availability
http://example.com/pcbook/api?action=get_availability retrieves a list of all workstations, their status as to whether they are in use, and whether they are currently booked.
2014-05-14